What is the most effective method for extracting color codes from a certain screenshot?
If you do a quick search online for this type of question, you'll find out that there won't be a lot of articles on this topic.
Because of that, we decided to write a piece that would explain it in the most comprehensive and informative way possible.
Whether it's through a website, an app, or a chrome extension, each has its own set of benefits and drawbacks.
Here are five methods for extracting HEX, RGB, HSL, and other color codes from screenshots.
1- Using ImageColorFinder.com
We promise that the purpose of this post is not solely to promote our own tool, but it kinda is :)
After doing some research on the web, we discovered that the available solutions were either not very user friendly or had far too many advertisements on each page.
That is why ImageColorFinder.com was created.
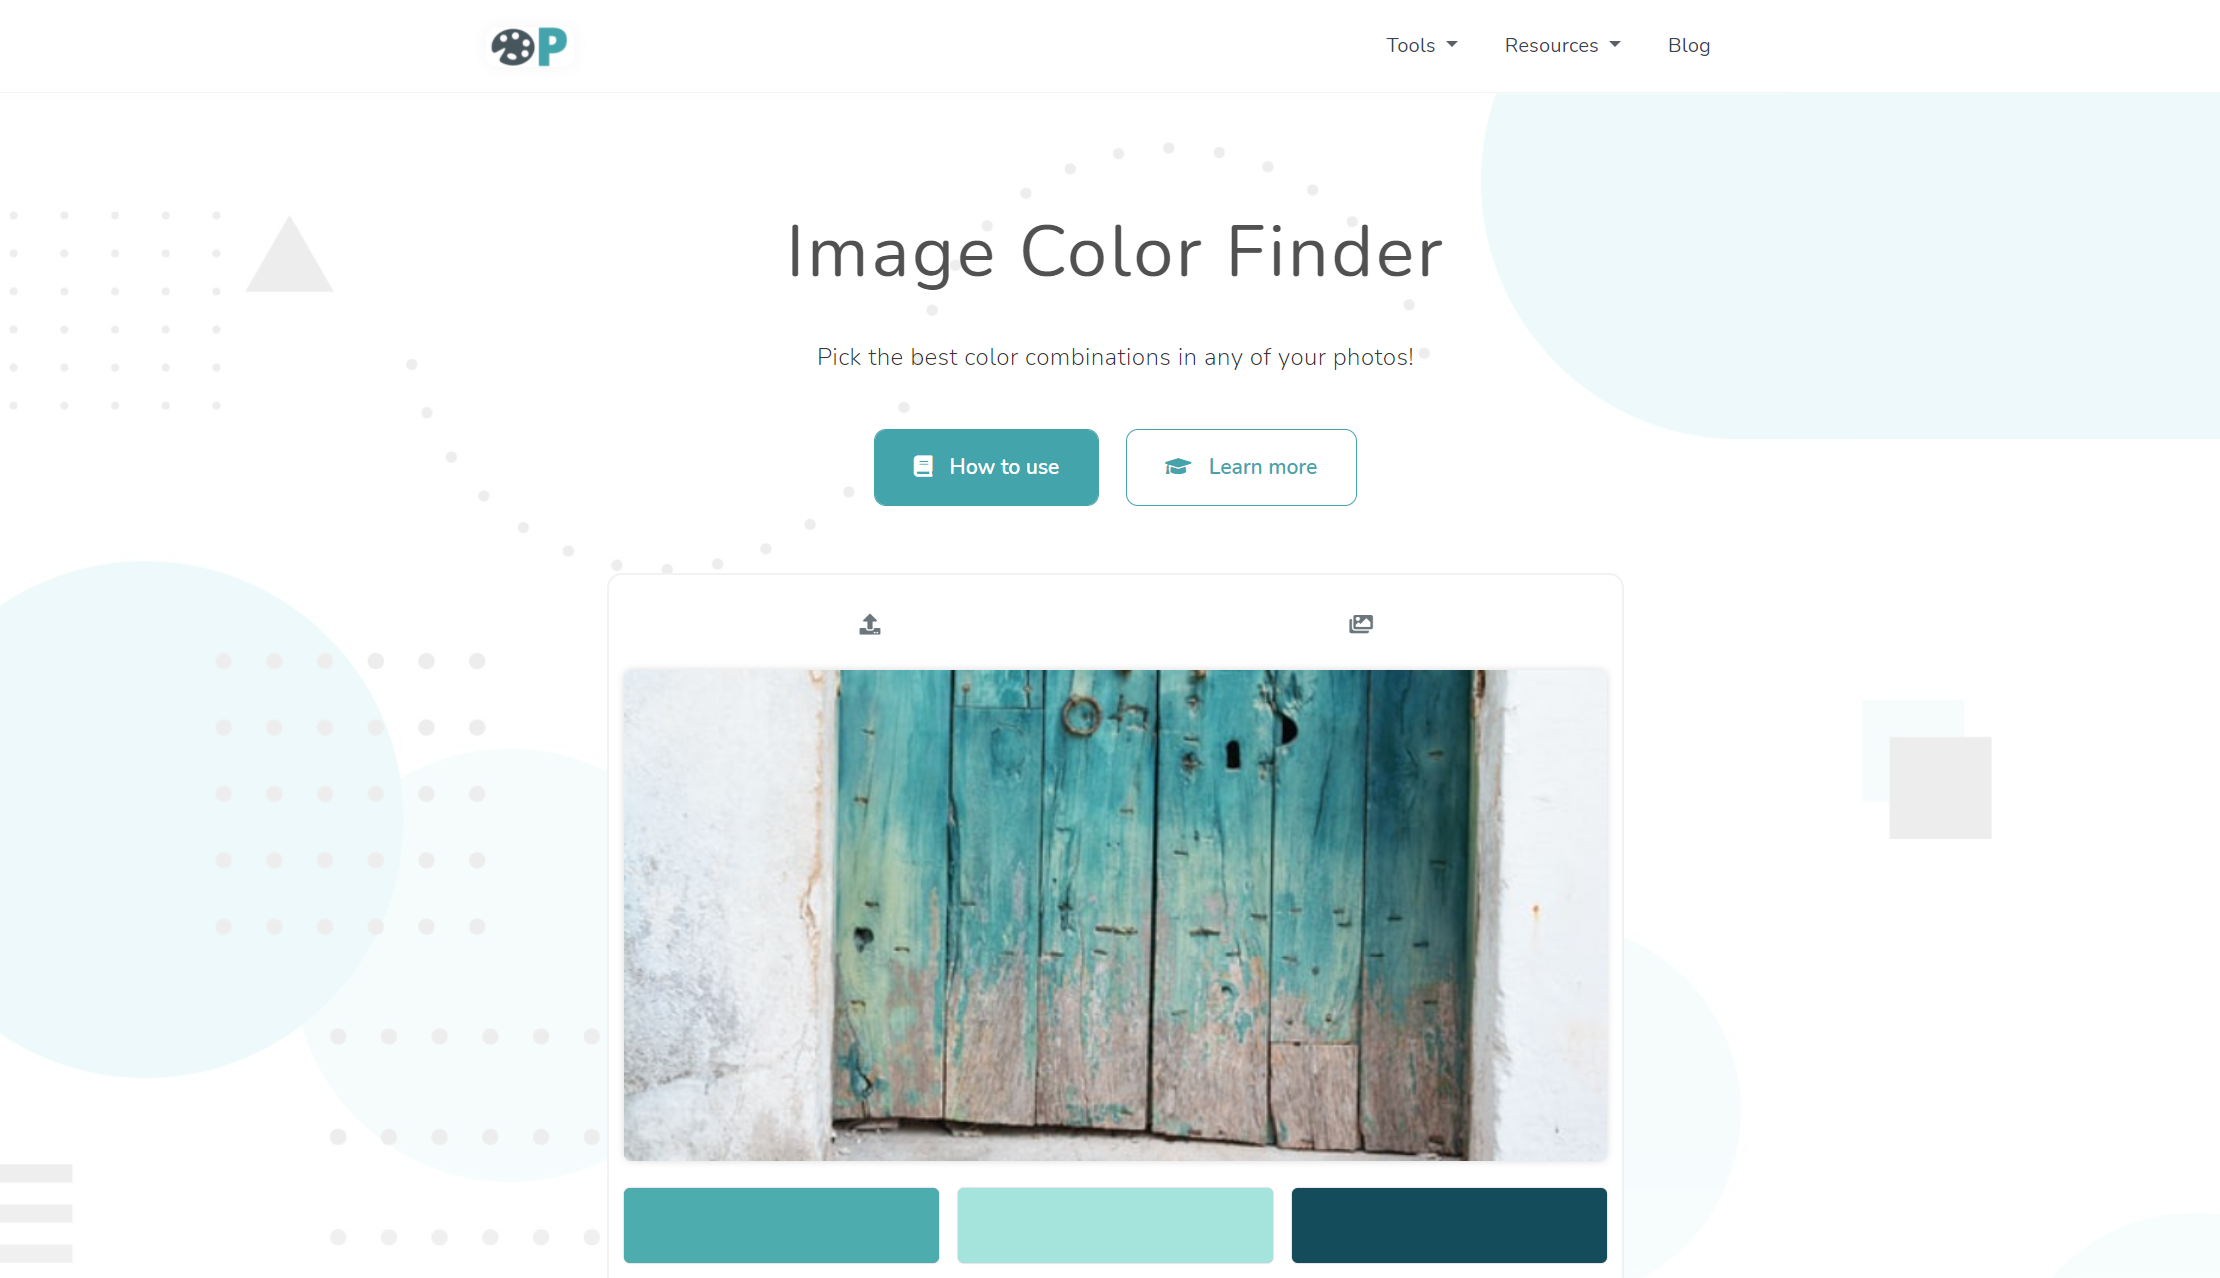
Not only does our application allow you to upload your own image, find the ideal color palette automatically, and manually select a color, but it can also produce random photos from the internet to inspire you with those colors.
In this specific ocassion, we'll just talk about finding colors in a screenshot, but in other cases, you might see how something like this can be useful for a designer or a programmer.
Here is how it works:
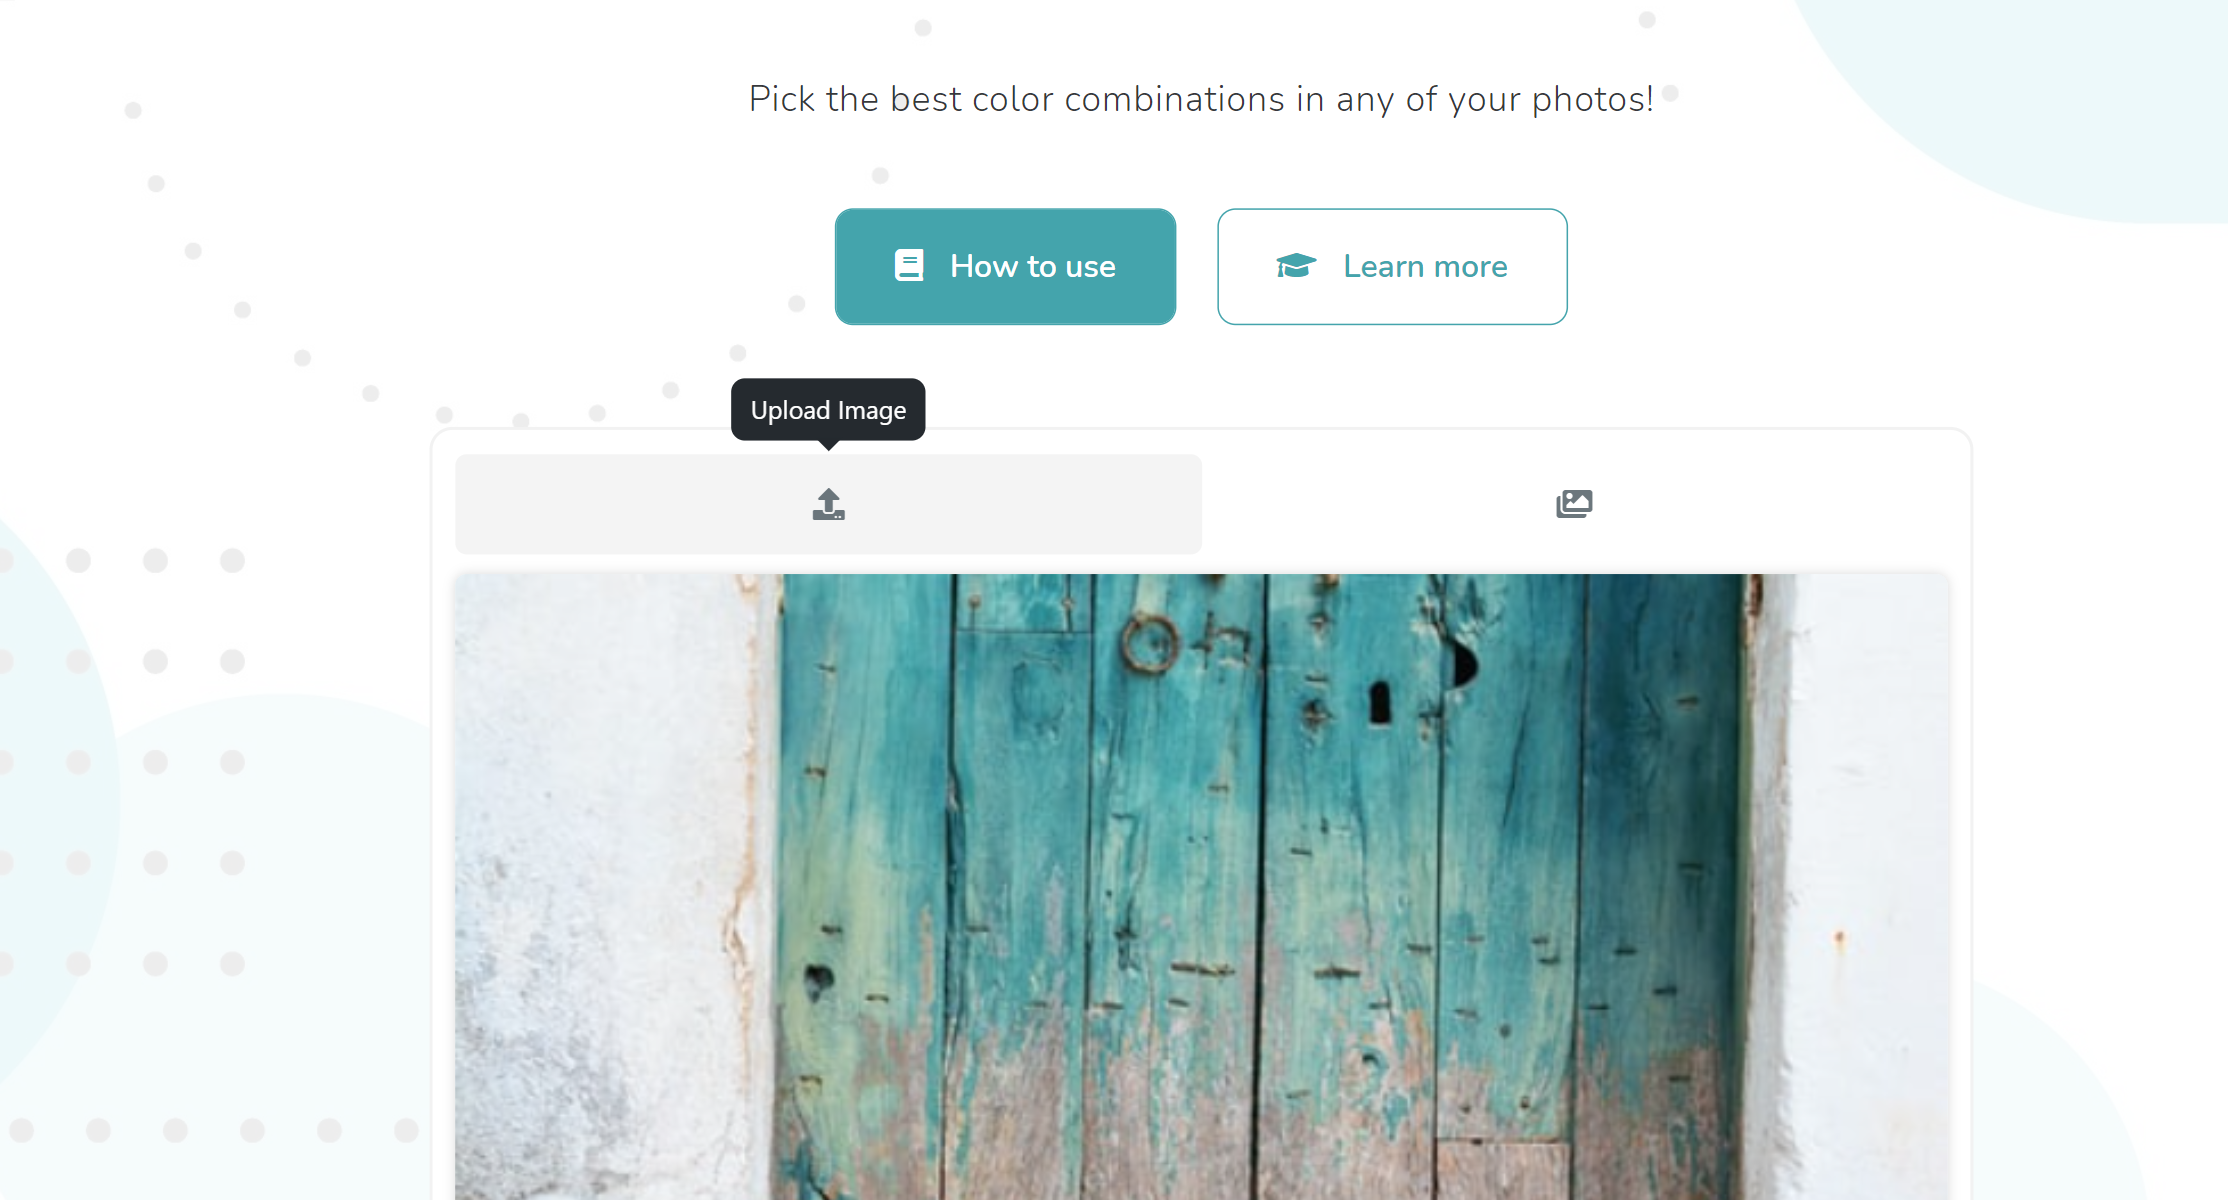
Step 1: Upload your own image
Simply press the upload button and select the photo from your device.
Any image format, as well as GIFs and SVG files, can be uploaded.
Once you've uploaded your screenshot, our tool will analyze it and display you and recommend some colors that might be similar to the ones you're looking for.
If not, then the next step will help you regardless.
Step 2: Click, hover, or tap on the image container
You can manually select colors from any image if the generated colors aren't what you're looking for.
To do so, you'll use the eyedropper for greater precision and convenience.
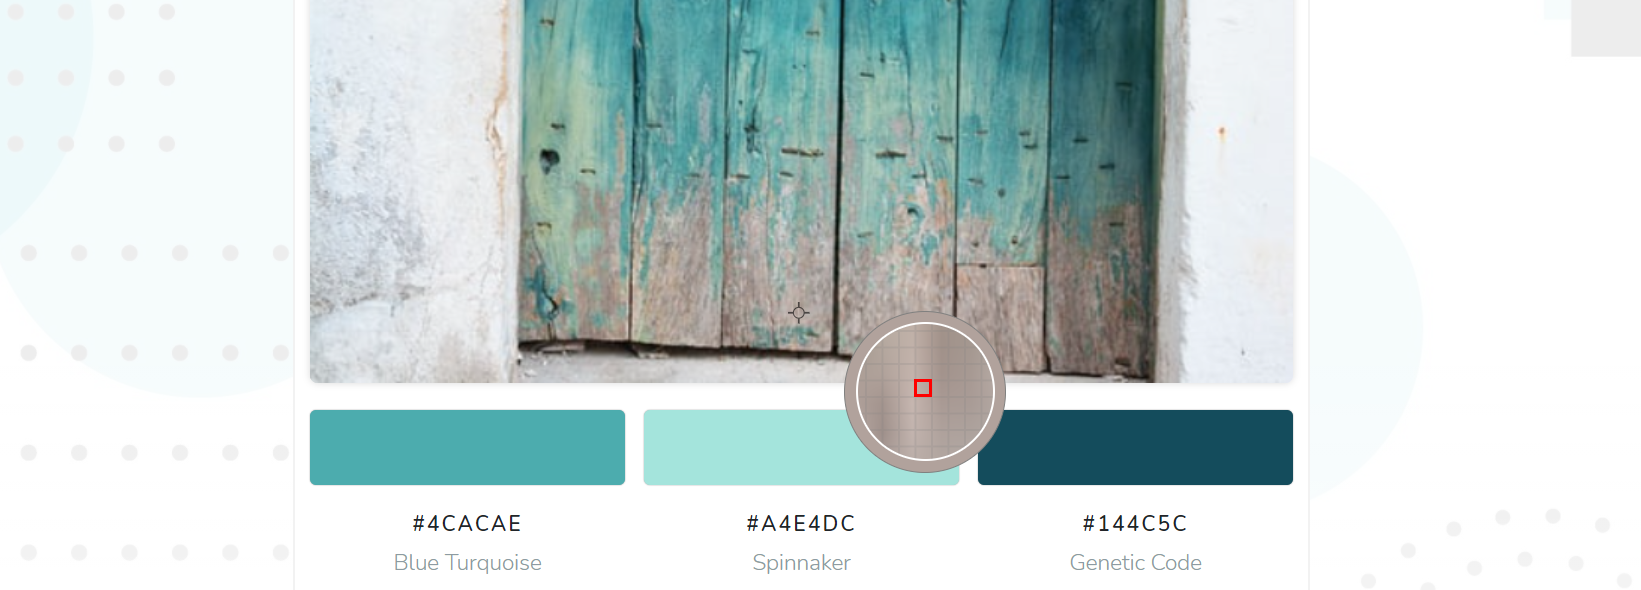
When you press, click, or tap on the image, this eyedropper will appear.
After that, you can hover around and look for the exact color that you're looking for.
The eyedropper corners will also show you whatever color you're hovering over, and the red square within will assist you figure out where you are in the image.
Step 3: Copy the color value
After you've completed step 2, all you have to do now is copy the color codes you obtained from our tool.

To do so, simply tap on the color container, and the value will be copied to your clipboard automatically.
Other additional features that you can use are the customizations at the bottom of the tool.
These will let you select between HEX, RGB, and HSL color systems, pixelate the image for convenience, and also increase or decrease the eyedropper zoom.
2- Making use of Chrome Developer Tools
If you're a developer or have some understanding of how Chrome and its developer tools work, you can utilize this option; otherwise, I'd recommend sticking to method #1.
In this situation, you can open the image in Chrome and then inspect the page to find the image's color codes using Chrome's built-in eyedropper.
This is how it would go:
Step 1: Open or drag the image file on chrome
For this step, you can simply right click an image and select Open With > Chrome.
You can, on the other hand, launch Chrome directly and drag the image to a new tab or an existing one.
Step 2: Inspect the page
After you have your image opened in a Chrome tab, then just inspect the page using Chrome Developer Tools.
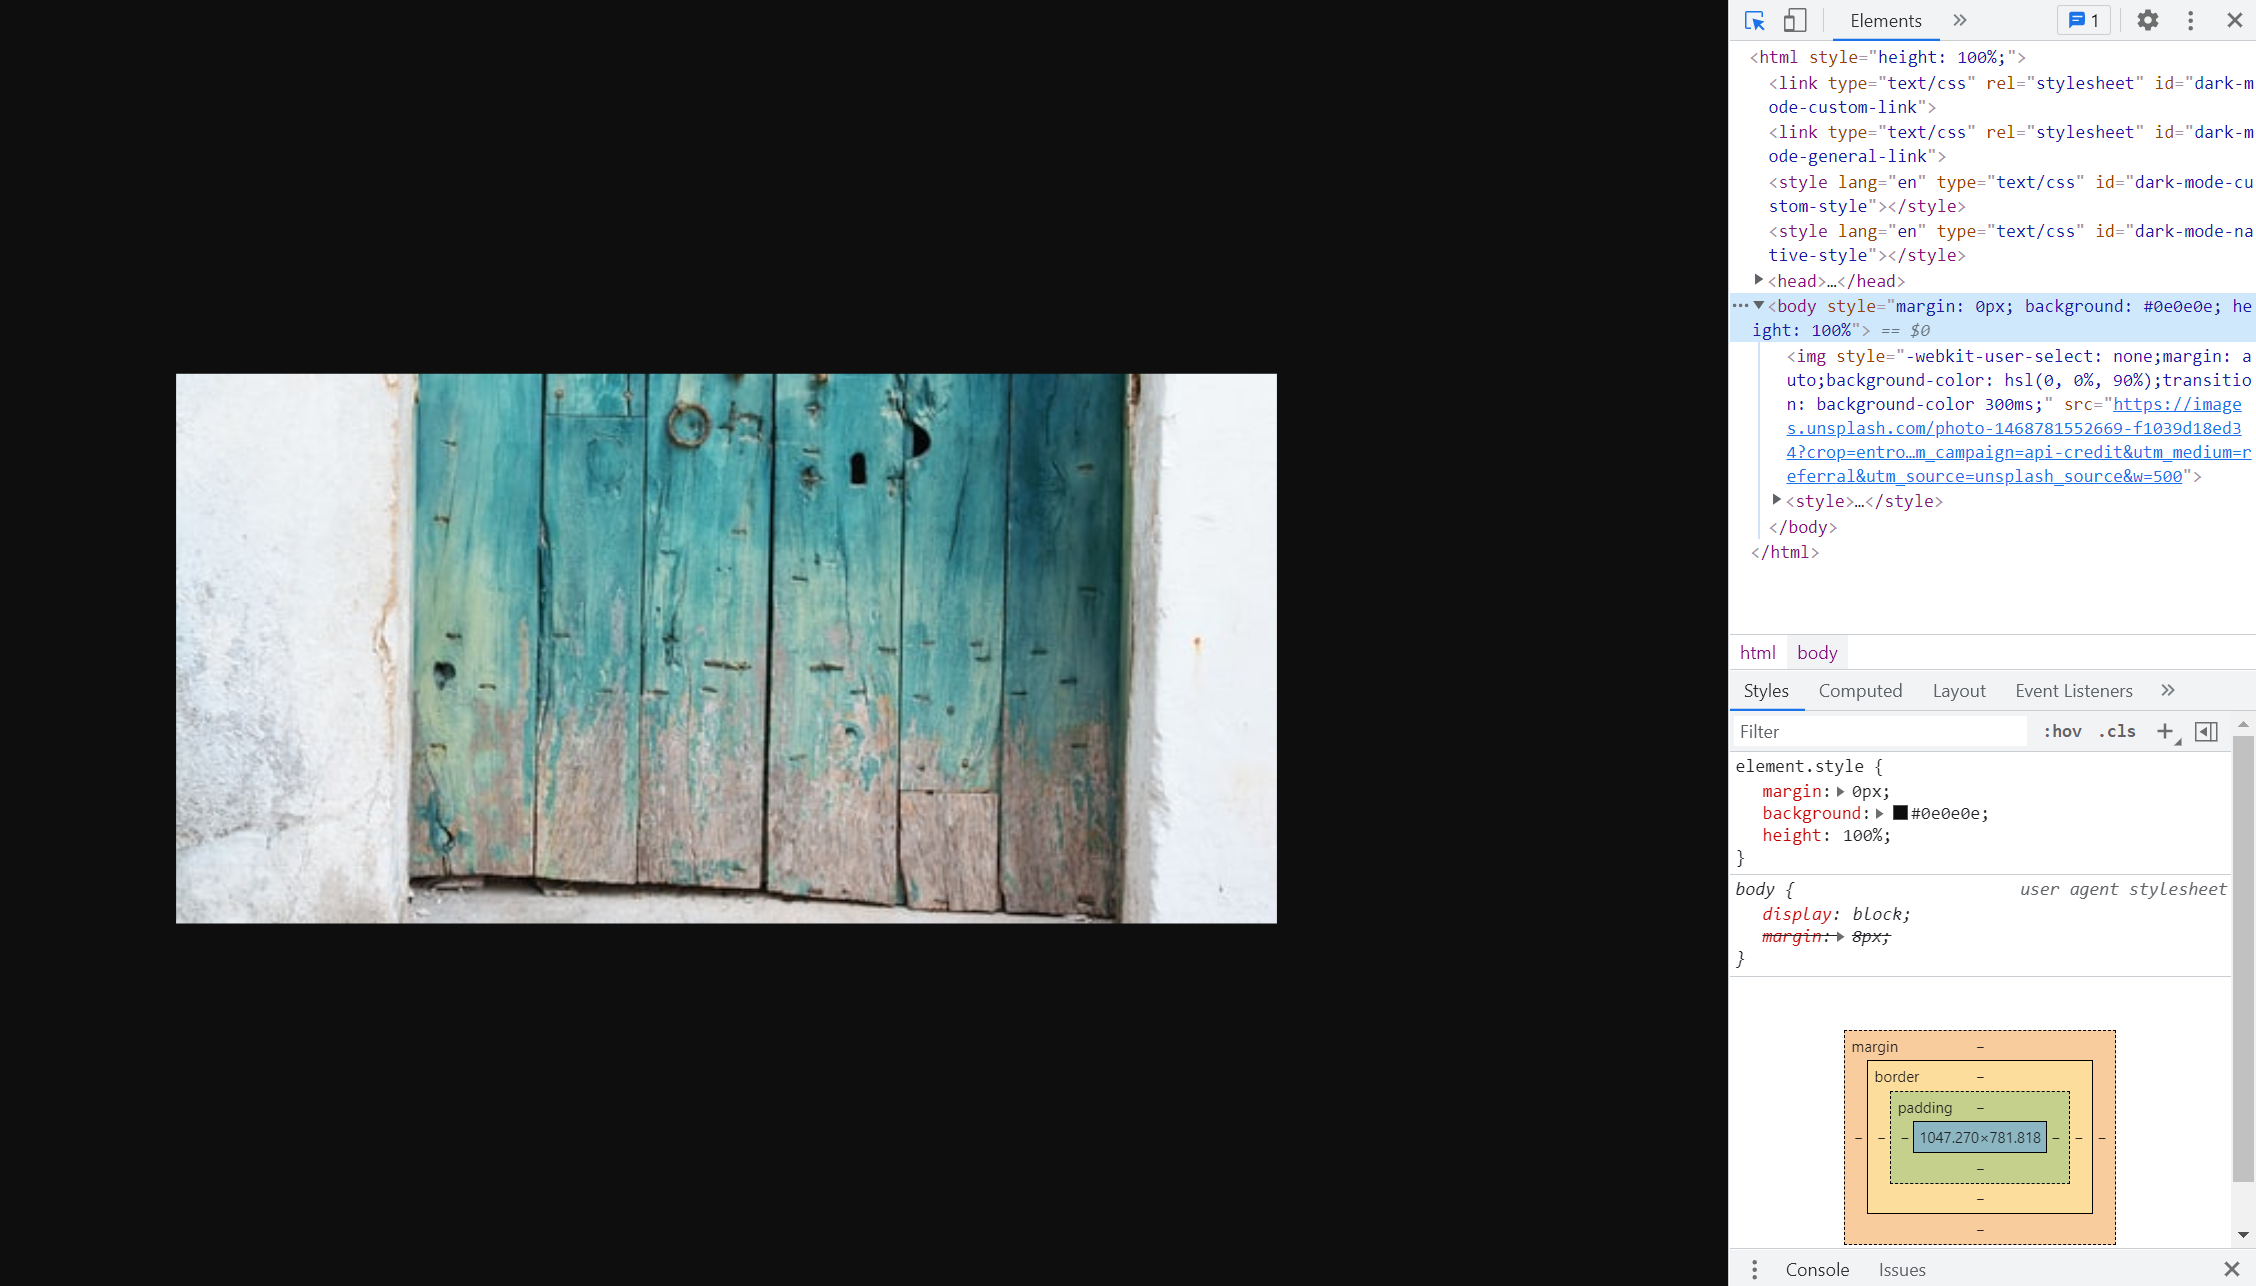
You can inspect a page by right-clicking on it and selecting inspect page, or by pressing Ctrl + Shift + I.
It will open a new tab to the right of your screen as a result of this.
Step 3: Click on or create any color in the Styles container
In this stage, we'll search the styles container for any color property of a random element, or we'll create a random one.
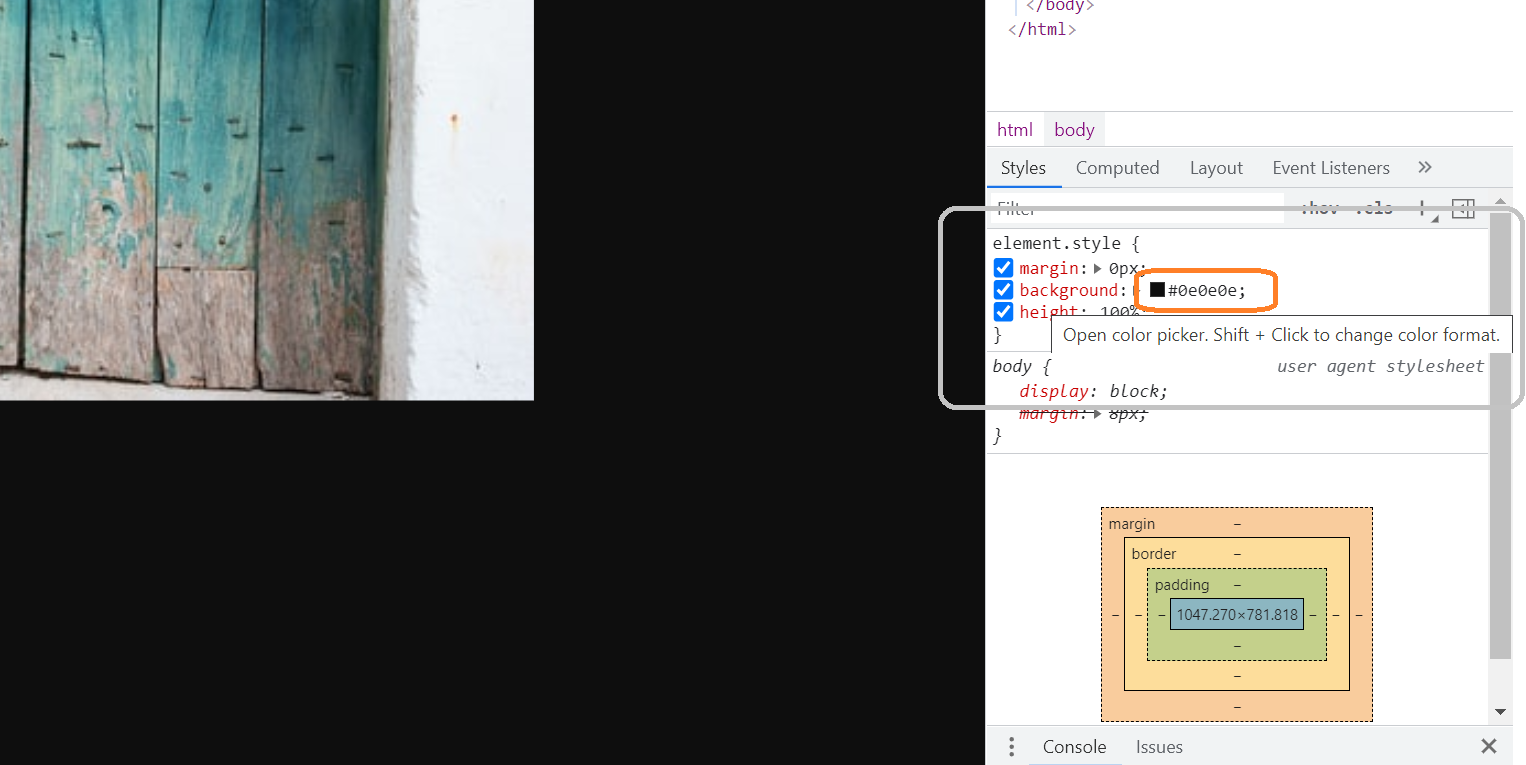
After that, we can click on said color and change it to the one that we're trying to get the exact color value from.
3- By using the builtin Windows's Paint
If you have a Windows computer, Paint is a simple way to accomplish this.
Instead of using Chrome to open the image this time, we'll just right-click it and select edit.
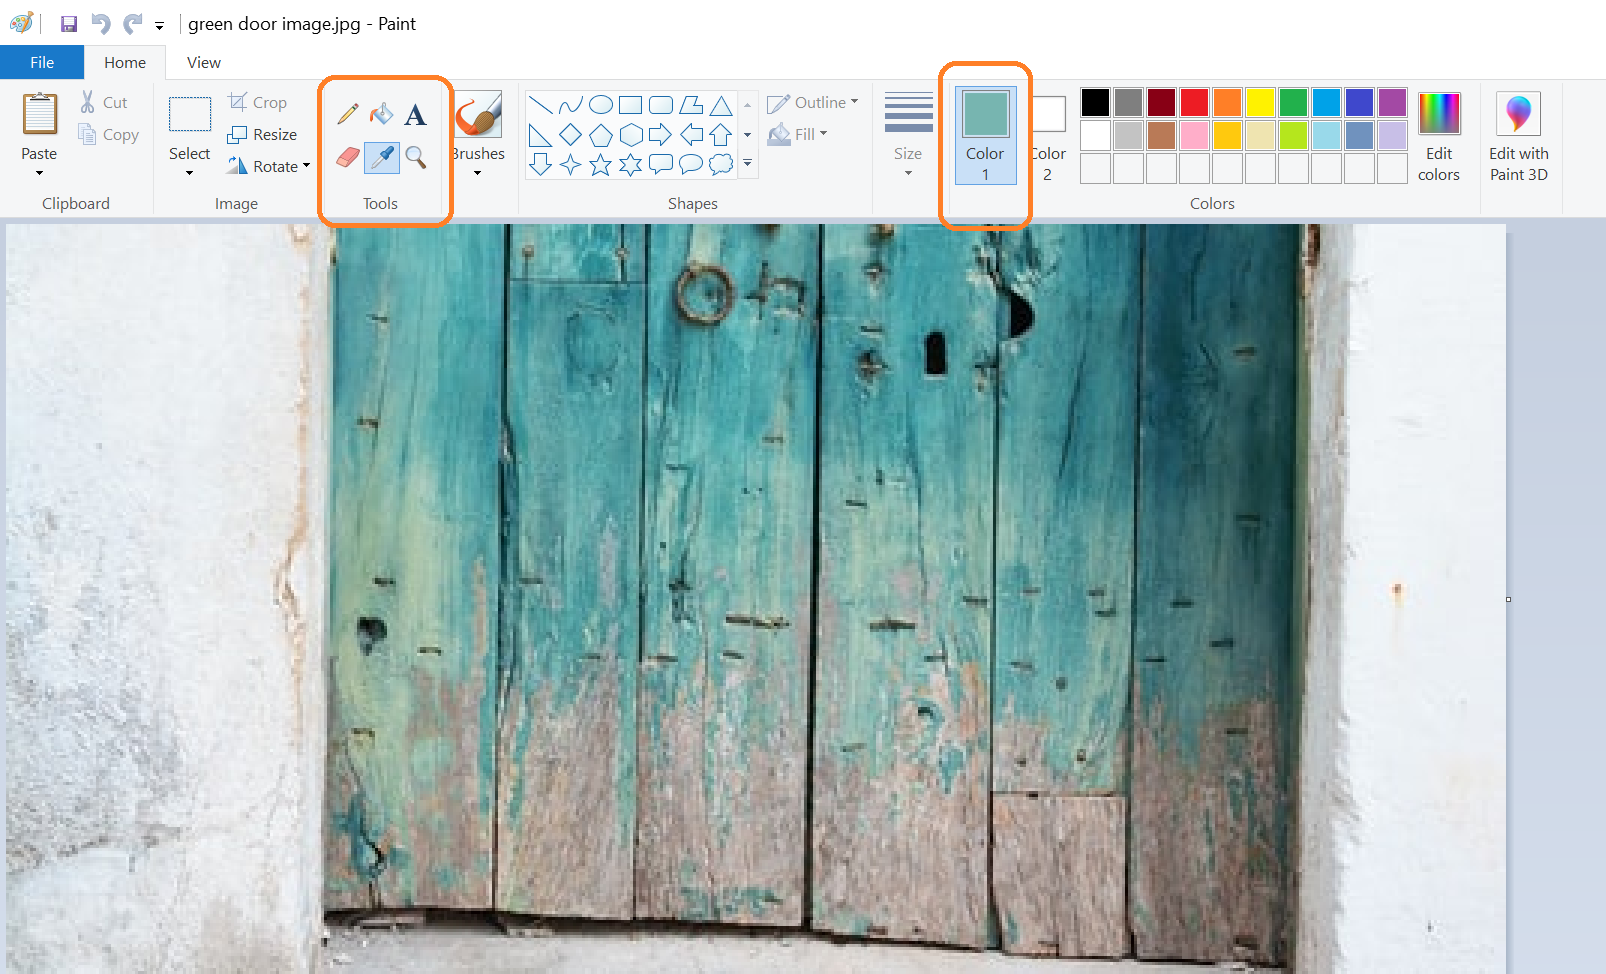
Now, within the Paint dashboard, select the Color Picker and pick the exact color that you want to copy its value from.
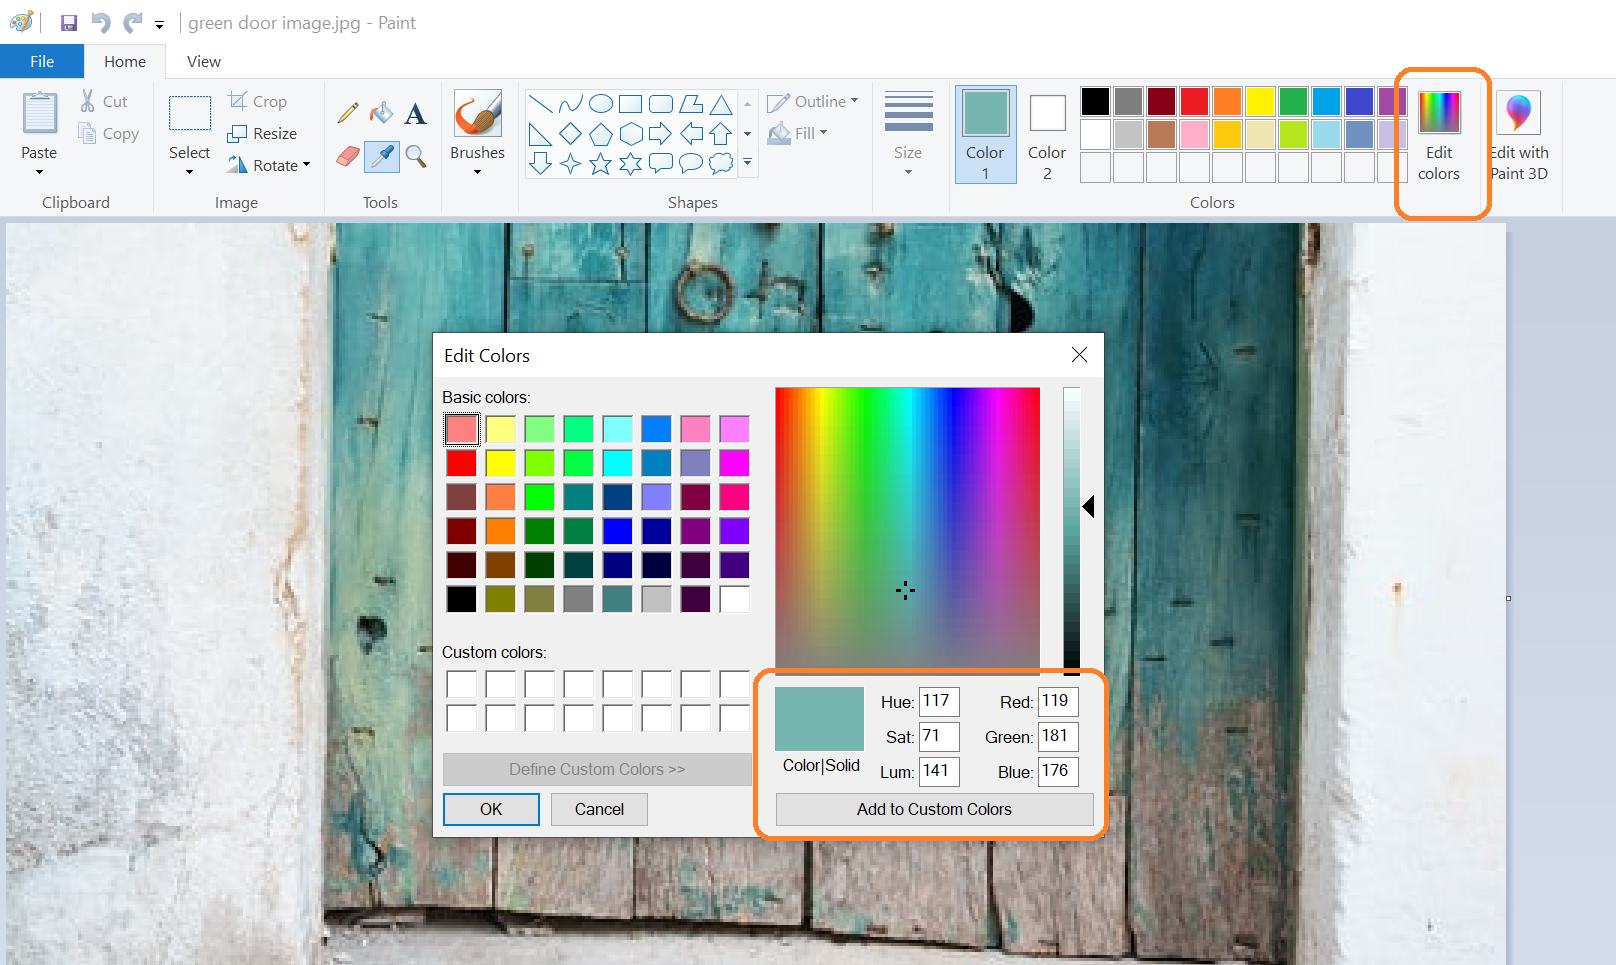
After that, select "Edit colors" and Paint will display the last color you selected in both RGB and HSL values.
4- Downloading and using Chrome Extensions
These last two are my least favorite options because they require you to install additional software on your device, but they can certainly assist you out in this case.
There are many Chrome Extensions that allow you to get the color codes on any website using this way.
They're extremely similar to the first two ways on this list, which is why I don't think they're very useful.
This is also a nice alternative for individuals who don't know how to inspect a website in Chrome and don't want to put in the extra effort in using Chrome's eyedropper.
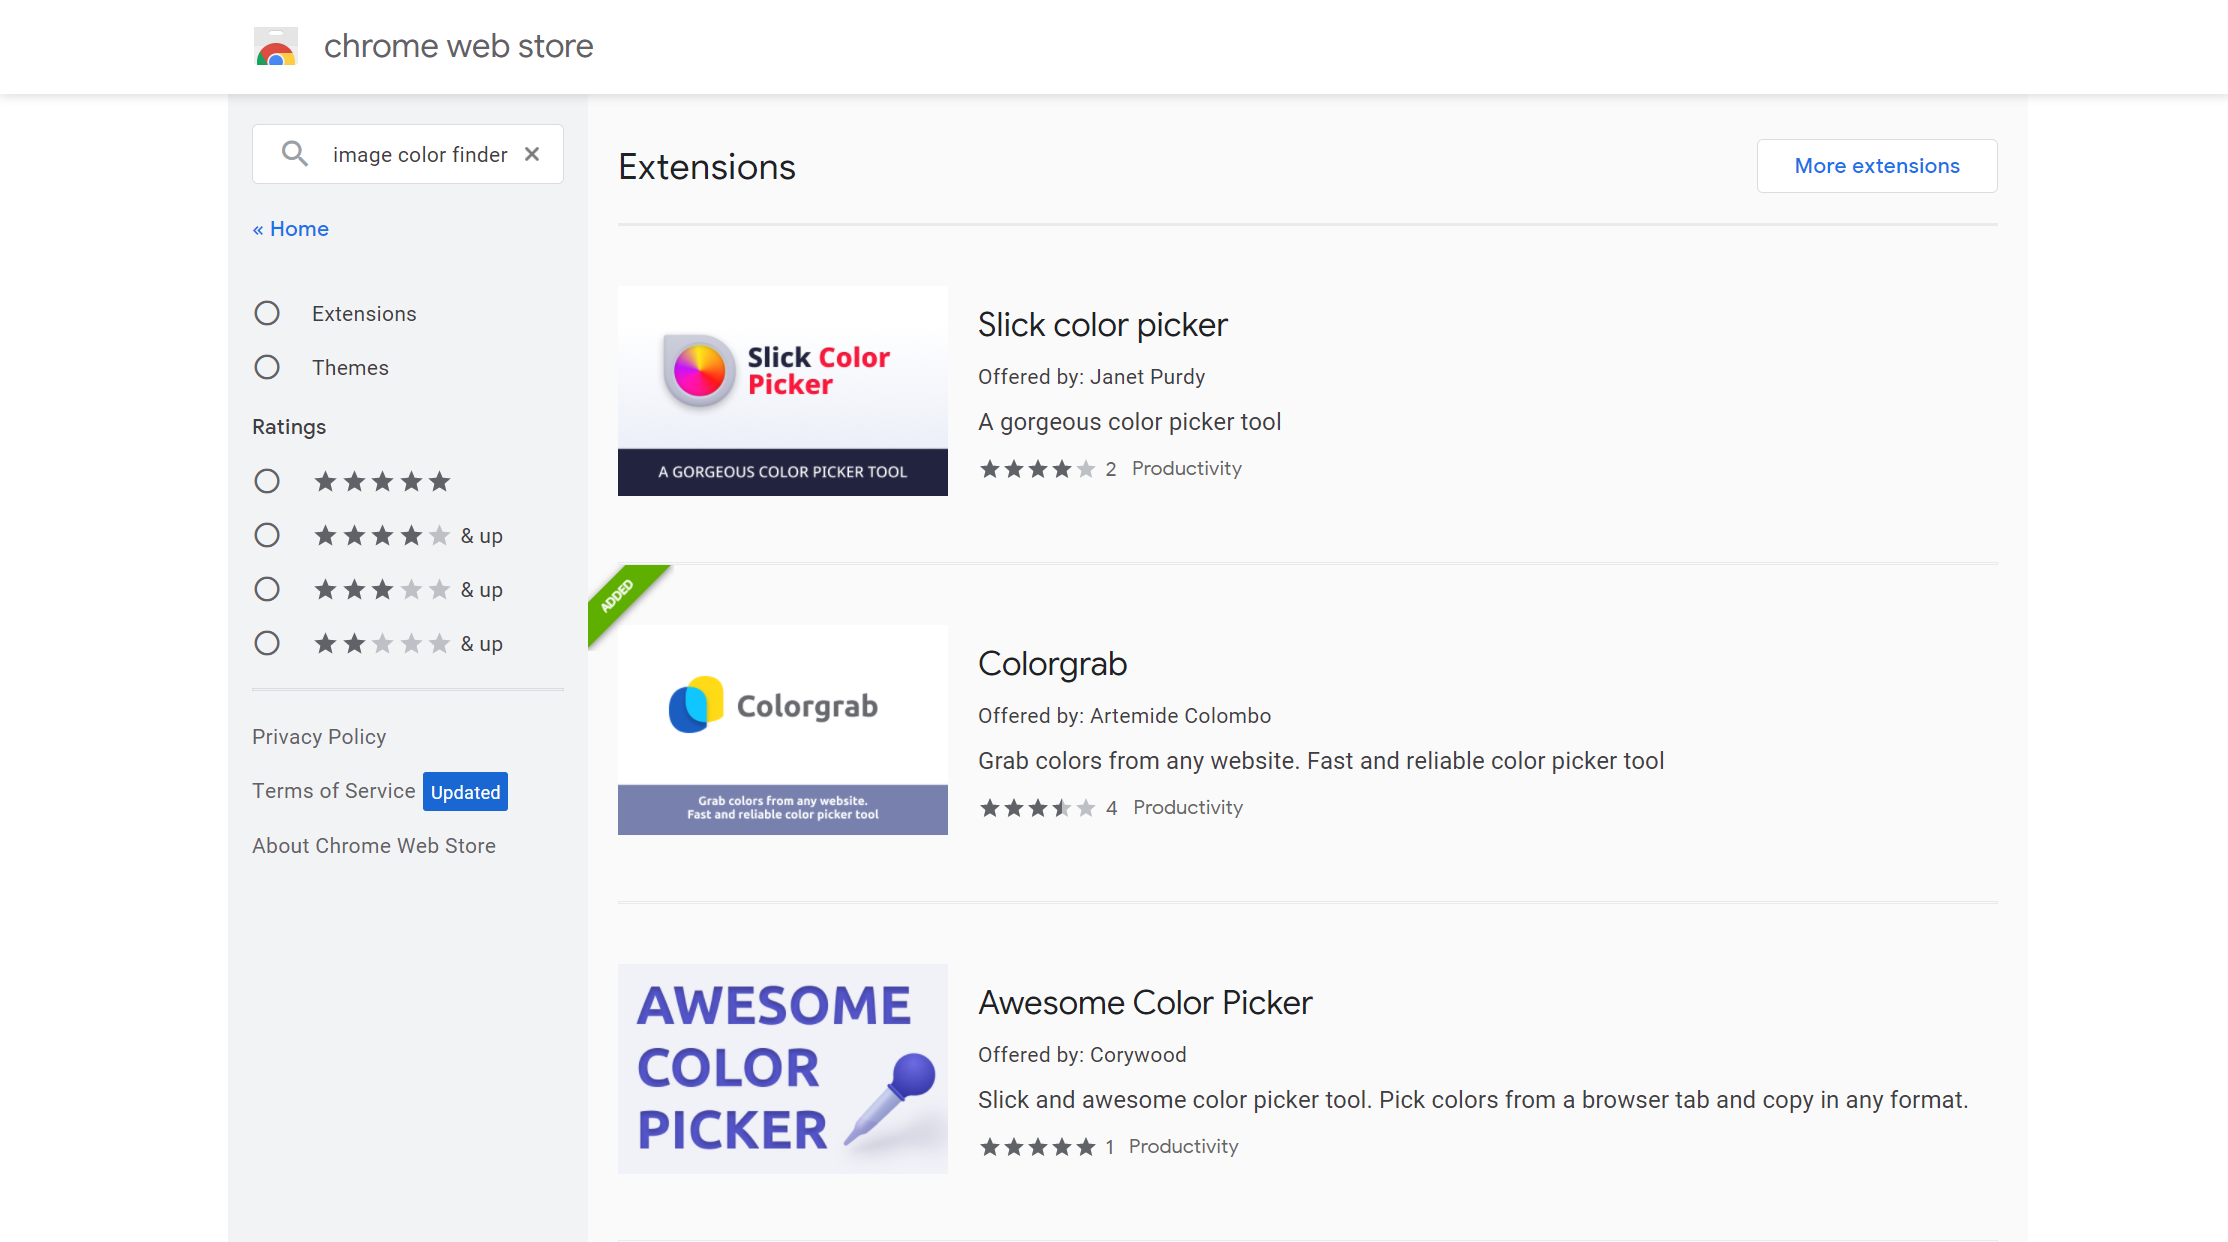
I recommend going to the Chrome Web Store and looking for a color picker that meets your demands and works well.
Colorgrab and Color Picker are two that I would recommend.
If you're on a mobile phone, then the next option might definitely be better for you.
5- Using mobile apps
For some people, using mobile apps can be incredibly convenient, but not so much for those of you who just need to perform this type of activity once in a while.
The majority of mobile apps will work in the same way as the first strategy we mentioned.
You'll upload an image and then select a color from inside it.
In IOs devices, Color Names AR would be the first one I'd check out, and on Android, it would be Color Picker.
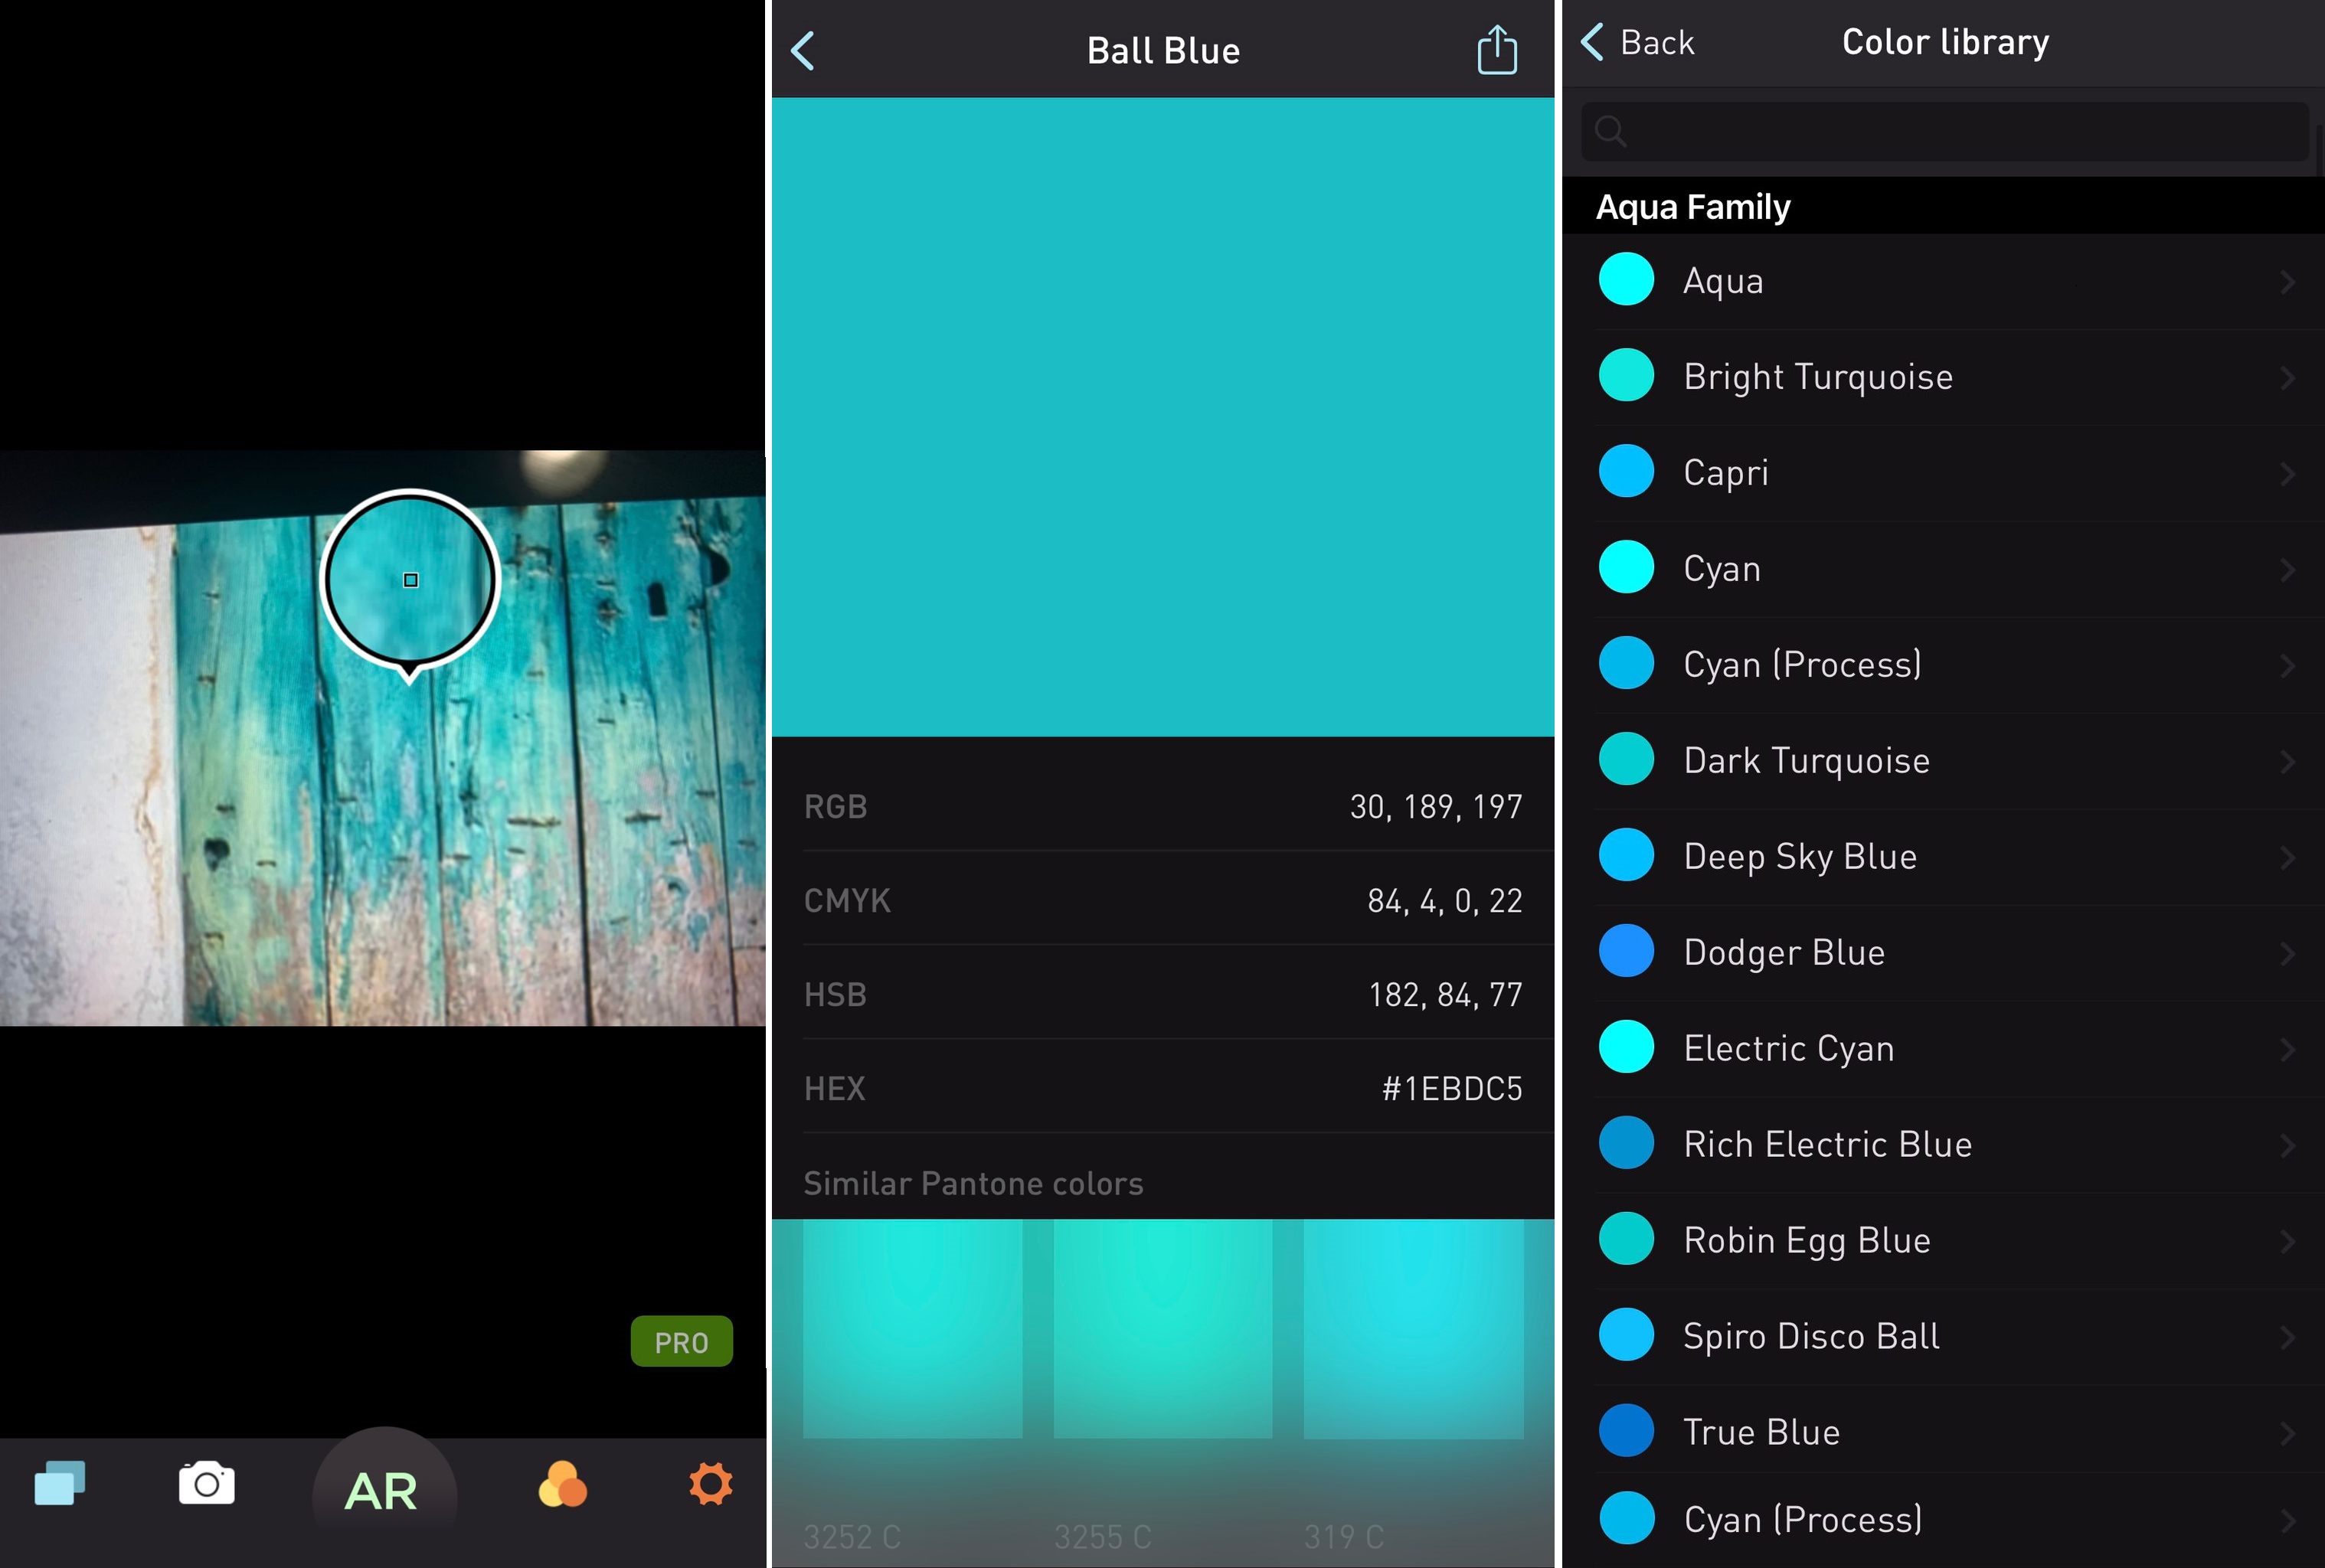
However, you should be aware that when you first open the app, you will be presented with a premium paid offer; simply click the X button to dismiss the offer and use the free version instead.
Conclusion
At the end of the day, it all comes down to what you want and how much effort you're willing to put into it.
If you only need it now and won't need it again, the first two procedures are the best; if you'll need it on a regular basis, the first and final two methods are significantly more convenient.
Thank you for taking the time to read and visit! 🤘